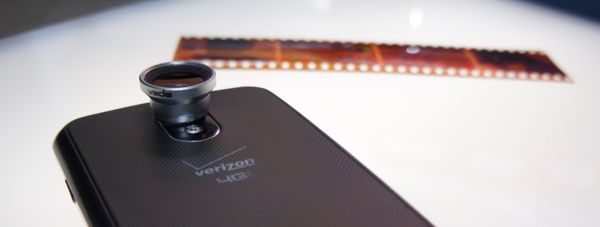
With each new smartphone and tablet, consumers are given yet another portable photographic and imaging device that can be used not only for casual photography, but also for serious purposes such as archival and preservation. Recently, I began experimenting with my smartphone to see if I could convert photo negatives into workable digital positives without having to buy a single-purpose device like the ION Pics 2 Go smartphone negative scanner.
There are quite a few smartphone applications and accessories to help people use their phone's camera to scan photographs and documents. The $15 Kickstarter project called Scanbox places smartphones an ideal distance from photos for scanning purposes, and mobile apps such as Shoebox by 1000 Memories uses edge detection and perspective correction to clean up digital shots of printed photos.
For my project, I used a Samsung Galaxy Nexus, Shinycore's Picsay Pro (a $3.99 app I've used since I've been an Android user), a magnetic macro lens (Specifically the Creative Vado lens kit.)
The secret weapon in this project is the Tracing light box which can cost as little as $20 or as much as $1,000. The one I already had for art and design projects cost me $50 at my local art supply store five years ago. If you're so inclined, you can build your own out of an old flatscreen monitor.
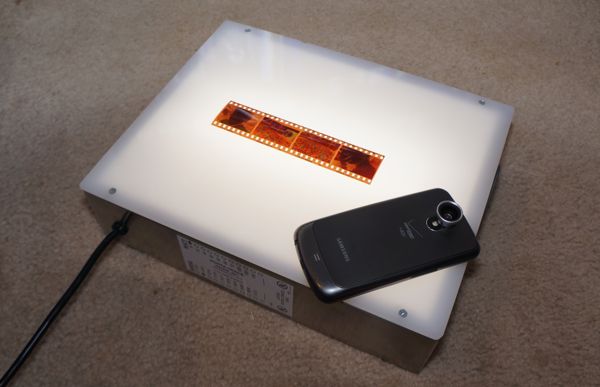
First things first: If your photo has a big block of a single, light color (which shows up as a big dark block in the negative) you might have to worry about photographing your own reflection. This is especially true when using underlighting like I did in this project, because you illuminate yourself nicely for the reflection. The solution in my case was to increase the ambient light until my reflection disappeared from the surface of the negative. This will take some messing around.

Here's the shot of the negative. It is flat, straight, and in focus.

In Picsay Pro, the first thing I had to do was invert the negative. Now you can see how washed out the colors appeared.

For the second step, I adjusted the RGB settings very little by boosting Red and Green

Then I increased the color saturation.

I increased the contrast by 20 percent, and shifted the hue -30 degrees.

Then I cooled off the "temperature"

...And torqued the RGB settings once again.
Having done all of the color correction with a four dollar app within the phone, and without a good close-up view, I was pretty satisfied. Then I broke out the original print of the photo from 1999...
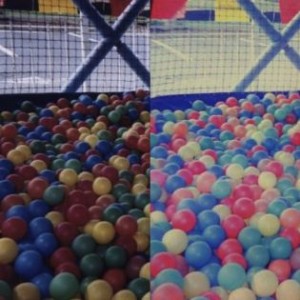 As you can see from this side-by-side comparison, the photo-positive scan has much richer colors than the smartphone negative scan. It almost looks like an artificial aging filter was added. So if you happen across a pile of old photo negatives that you don't want to pay to process, you can absolutely use your smartphone to create positives, but without the benefit of knowing how the colors were supposed to be reproduced, your final result might not look as good as an actual print would.
Still, it's the DIY spirit that counts, and it proves that you can do an acceptable job of reproducing old color negatives without having to put them through a chemical reproduction process, or even removing them from where they're stored.

